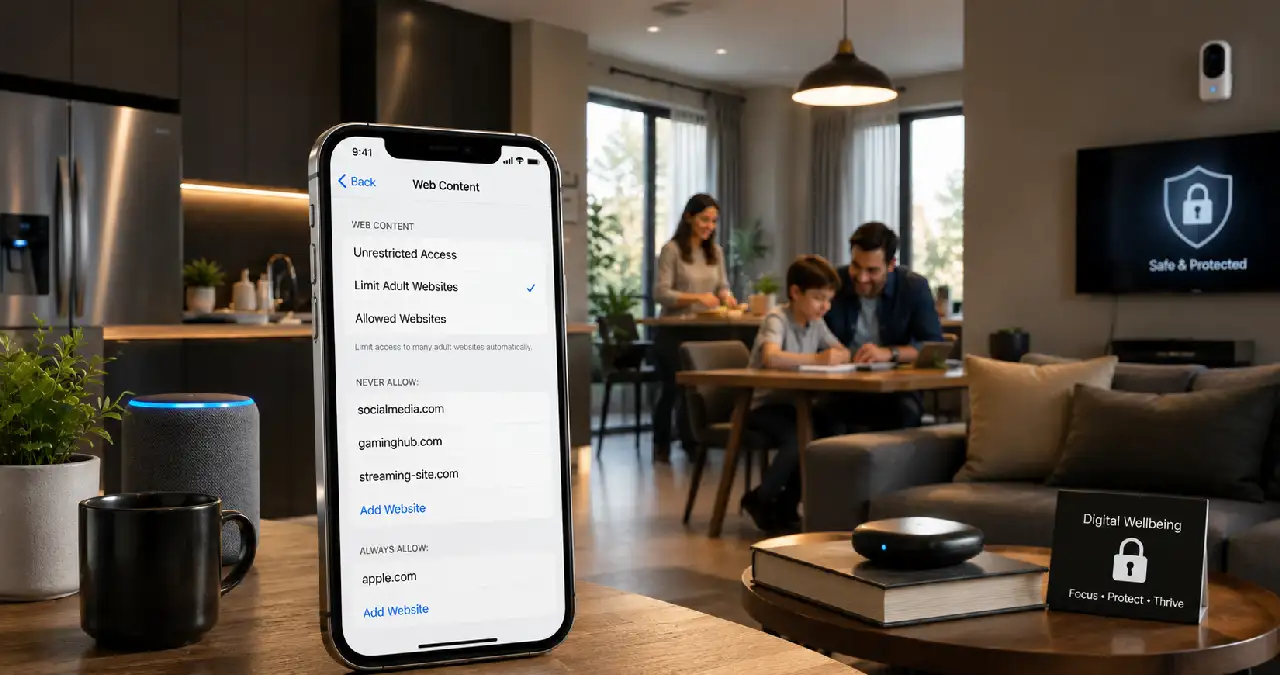
Are you wasting your precious hours on a handful of sites like social media, shopping sites, or others while you meant to keep your phone down? Do you want to set safer boundaries for your child so you don’t let them become an iPhone addict? Either way, knowing the process of blocking a website on iPhone is a good-to-go option. Here in the WebTechHelp article, let’s learn the process of blocking a website on iPhone. Here you will know the fastest method of blocking a website led by Apple’s Screen Time feature. Additionally, you will know two backup methods, like DNS filtering and third-party apps for website blocking on iPhone. Let’s dive into it.
Benefits of Blocking Unwanted Websites on iPhone
Before you proceed with blocking a website on iPhone, why do we need to do so, right? There are a plethora of reasons to go for website blocking on iPhone. Children are often vulnerable to inappropriate content as they lack emotional maturity, and repeated exposure to explicit content may bring serious harm to their mental well-being.
It is meanwhile not only a concern for parents but is becoming a mandate for adults who want to self-restrict themselves to reduce their screen time and avoid distraction while focusing on productive work.
Although there are options to cap your access to apps on the DNS level or make a whitelist of approved sites or entirely turn off the Wi-Fi, why go for website blocking? The answer is precise. It means targeted control without any disruption. This is why blocking unwanted websites on iPhone is no longer a choice but becoming a necessity hard to ignore.
The Process of Blocking a Website on iPhone
The built-in Screen Time feature is a reliable way to block websites. To block a website on iPhone, go straight to the Settings app on your iPhone.
Now it’s time to tap on Screen Time. If it is still disabled, you need to enable the Screen Time icon by simply clicking on it. Now go straight to Content & Privacy Restrictions. Later, from the Content Restrictions step, go to web content and tap on it. You may set a passcode for your Screen Time to deter anyone from changing whatever you have done. The complete step-by-step guides are mentioned below:
Settings → Screen Time → Content & Privacy Restrictions → Content Restrictions → Web Content.
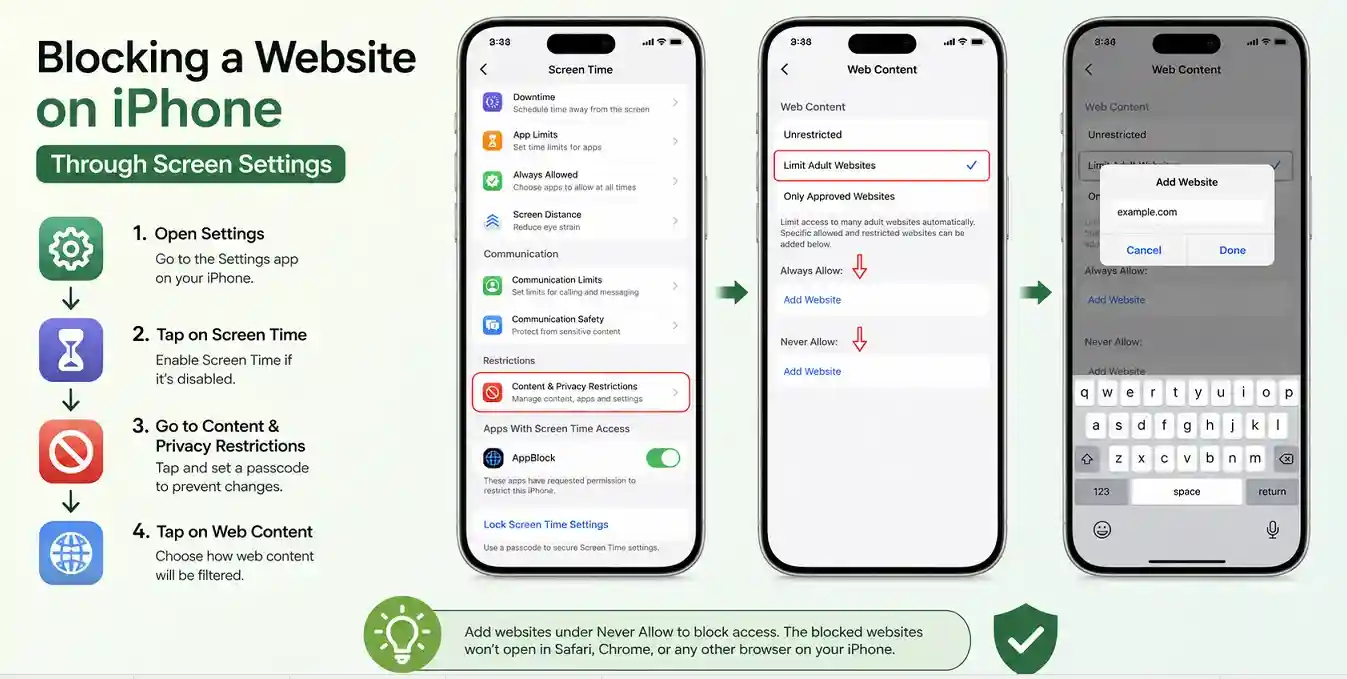
For filtering web content, you need to visit the menu of Content & Privacy Restrictions. After that, you need to tap on Web Content, which will show you three options (Unrestricted Access / Allowed Websites / Limit Adult Websites) visible when you open the content restriction tab. Under “unrestricted access”, no content is blocked. “Allowed websites” only show a whitelist of sites, blocking the rest, which you don’t explicitly allow to access.
Limit adult content section blocks adult sites by filtering them out. Suppose you are losing focus on giving attention to your work due to certain websites. What should you do? You need to type the website you want to block by scrolling until you reach the “Never allow” option.
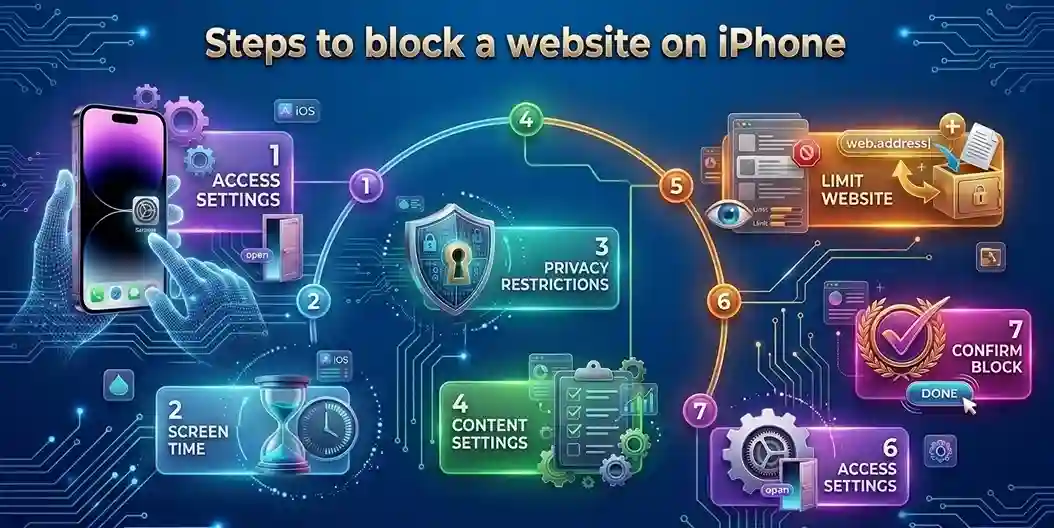
Key takeaways
- Open Settings on iPhone
- Tap on the Screen Time option
- Tap Content & Privacy Restrictions next
- Turn on Content & Privacy Restrictions if disabled
- Tap Content Restrictions.
- Tap Web Content.
- Choose Limit Adult Websites from three options available: Unrestricted, Limit Adult Websites, and Allowed Websites.
- Under the “Never Allow” option, tap Add Website.
- Enter the website address, such as example.com.
- Tap on Done.
Let’s check the simple table to easily gauge the fundamental information
| Option | What it does |
| Unrestricted | Doesn’t intentionally restrict websites through this setting |
| Limit Adult Websites | Filters adult content and lets you manually add sites under Never Allow |
| Allowed Websites | Creates a restricted browsing environment where only approved websites can be accessed |
DNS filtering
Another way that will assist to block website on iPhone is DNS filtering. The DNS level filtering on iPhone works at the network level, meticulously configured by the parental control tool and home routers.
This method is ideal to intercept requests coming from a domain name and deter the iPhone from accessing specified websites of interest. Although it helps to block website access on an iPhone, it has its own limitations. Under a controlled network, the device works well. At any point in time when the iPhone is connected to external wifi and mobile data, the DNS filtering option is no longer active.
Using a third-party app to block websites on iPhone
Sometimes, you may go for a third-party app that would become a prudent choice for you to block websites. Myriad third-party apps would help you break free from the vicious loop of instant gratification of content consumption on websites. Supposedly, if you want to free yourself from distraction during productive hours, you may go for Freedom, One Sec, and Appblock as third-party tools on your iPhone for blocking websites.
- Go to the App Store to download the blocker app and install it on your device.
- Now follow the setup prompt for VPN profile configuration on your device.
- Now, after going to the website restriction section of the app, type the web address you want to block on your iPhone. That’s all.
Final thought
In the end, if you want to restrict access to unauthorized content and are willing to focus on your work despite unnecessary waiting time on social media apps, you need to know the exact way of blocking a website on iPhone. Let’s be honest, investing our precious time in unnecessary watching steals our precious time. Knowing the process of blocking a website on iPhone helps us to create a safer digital experience.
Frequently asked questions (FAQs)
Yes, blocking websites on an iPhone is possible without leveraging the built-in Screen Time feature available on Apple. DNS filtering services or installing third-party apps are effective ways to block websites from the App Store on iPhone without Screen Time.
Without a passcode on an iPhone, anyone can turn off restrictions in Settings directly. This is why setting a passcode only helps if it becomes essential, especially when a child using an iPhone is taken into consideration. Screen Time restrictions necessitate the requirement of setting a passcode that is different from the unlock passcode of the device to provide maximum security against a child who attempted to reset it.